Christine McKay - Process in Clay [ 2010 ]
Spring's Daughter I:
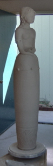
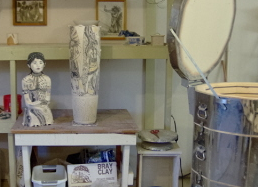
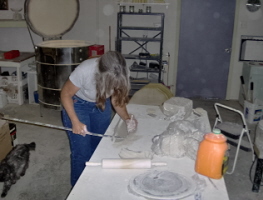
The Process: I have a rough idea of what I'll be creating, usually no preliminary sketches except for cases where strategic building is concerned. For a basic tall sectional sculpture I begin with simple cylinders. I'm not strong enough to handle large mounds of clay while throwing so I attach sections and fuse them onto the existing cylinder.
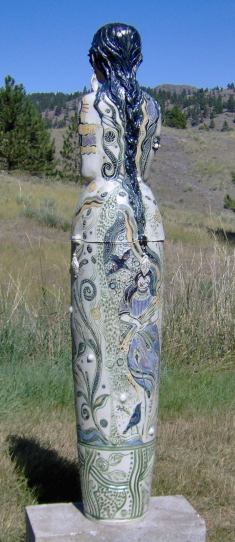
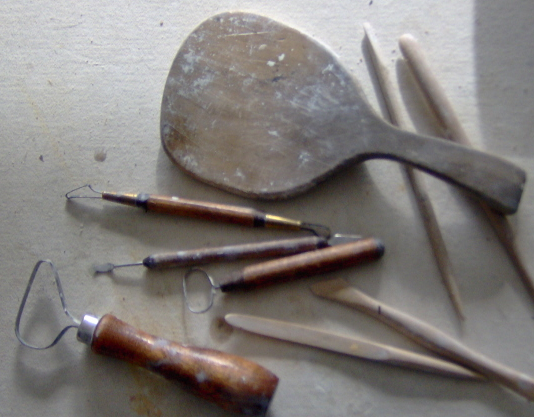
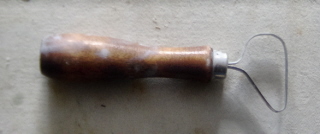
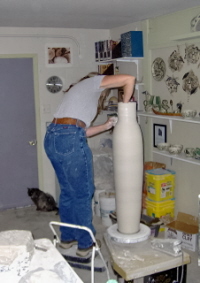
After I've determined how tall I want the sculpture to be (in this case, I was shooting for roughly 55") I begin shaping the waist area and continue upward with rolled out pieces of porcelain and attaching them (pictures on left & right). I continue adding sections to just below the bust line. This process can take a few days as the clay needs to "set," to prevent collapse. By now, the base is firm enough to use a paddle for shaping. I gently round and curve the hips and butt, pushing from the inside with my hand as I paddle from the outside. My favorite tool for this is an old butter paddle.
Once shaped, I begin the process of adding coils to create the bust and shoulders. I decide how arms will be positioned. The very roughed in head is added.
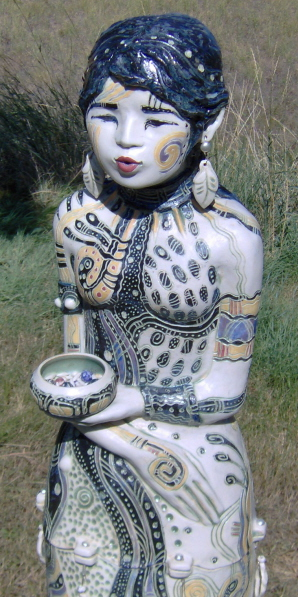
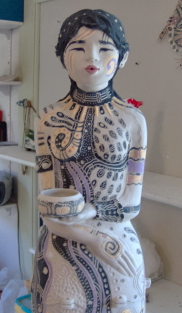
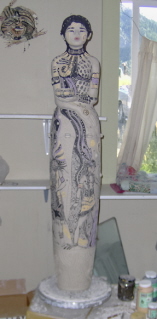
Sculpting: I'm then ready for the sculpting, my favorite part, creating facial features, hair, etc., literally making it up as I go. There is a moment when I come face to face with the clay looking back at me and I "feel" the moment, "This is it."
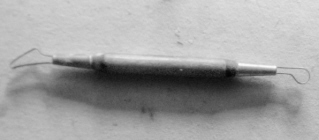
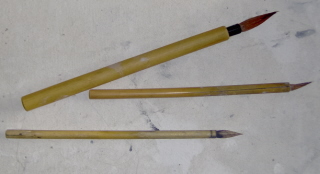
Refining/Painting/Carving: When the form is refined I determine how the underglazes, glazes, and carving will affect the outcome. At this point I lightly sketch (with a softly pointed wood tool) the rough designs - simple sponging can erase what I don't want to use - I create very basic drawings because the actual painting with underglaze is most often spontaneous. I step back frequently, turning the wheel to check balance/composition, also looking at it in reverse with a mirror. Once painting is done I begin carving, although some deep carving has already been done. This can also take several days, mostly because my hands can't handle the intense carving. It also give me a chance to come back fresh and revise, as needed.
Segmenting: Because this sculpture is taller than the 29" allowance of my kiln it is cut into two parts. I planned the cut point while building, measuring as I went to assure each section would fit into the kiln, also taking into account the shrinkage as I worked. I carefully cut through the leather hard clay until the sections are separate, then "key" both sections for later attachments. In this case, I used sterling silver "pins" with porcelain leaves dangling from the pins.
Firings/Glazing: After finalizing, the sculpture goes through a very slow drying period. Once bone dry, it is bisque fired at Cone 05. I paint my base glaze into all recesses, allowing that to dry, then sand the excess so that the glaze remains only in those recesses. Then I paint over the entire sculpture with an opaque white matte glaze which allows details to be seen after final firing. I have calculated shrinkage at about 10-18 %. Before any firings, this sculpture was 56". However, by final firing (Cone 6), it had shrunk to 44.5."
Copyrighted Images - Christine McKay
All Rights Reserved - 2015
All Rights Reserved - 2015

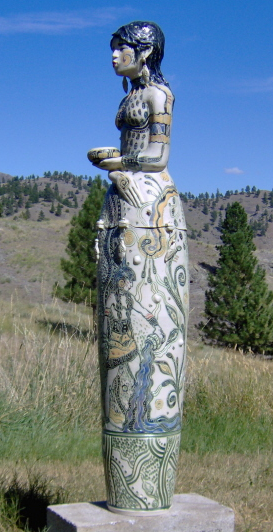
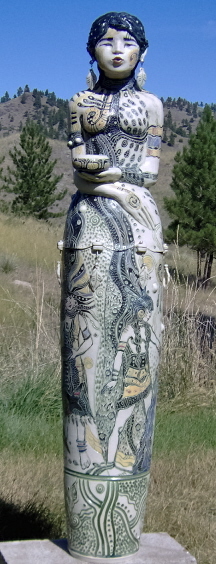

Final Result - SPRING'S DAUGHTER I